So I’m recently married, right? One of the totally fun things a new bride gets to do is decorate her very first home! However, like most newlyweds, Shannon and I can’t afford to just go stark crazy buying new things. The solution? Update what you already have! It’s totally ‘in’ right now anyway. The really neat-o thing about this particular piece is that it first belonged to Shannon’s grandmother, Virginia. He calls her Mama (pronounced maw-maw). They live a good day’s drive away in west Texas, so it’s nice to have a bit of Shan’s family in our home.
Before we begin, I have to use this opportunity to give a huge shout out to my mom. She went to a painting class to learn how to use Annie Sloan Chalk Paint and she has taught me everything she learned. She also let me use her supplies. Thanks Momma!
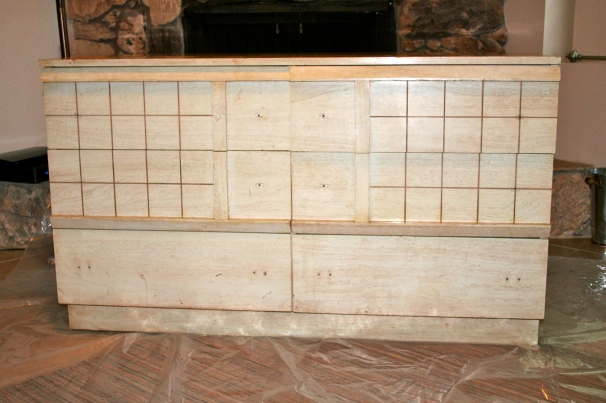
Here’s the piece. Original hardward removed.
Oh, and let me also say.. my sweet husband helped this little project come to fruition. He is a heck of a sander and his arms don’t get nearly as tired as mine!
We had fun working together.. don’t roll your eyes! We’re newlyweds!
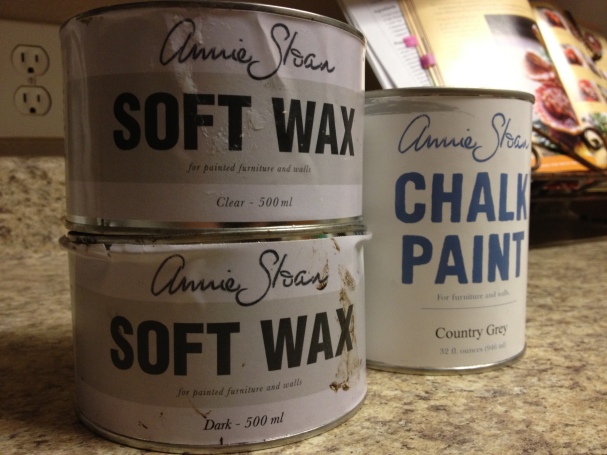
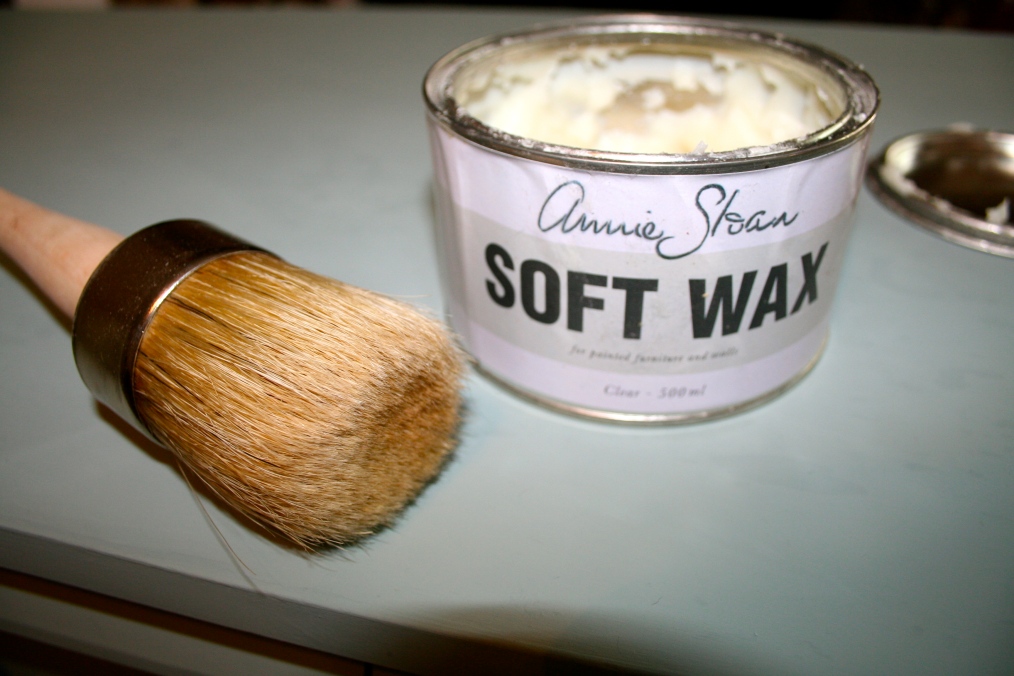
Here are a few of the Annie Sloan supplies. Clear wax, dark wax, and chalk paint. I used duck egg blue mixed with a little graphite for depth.
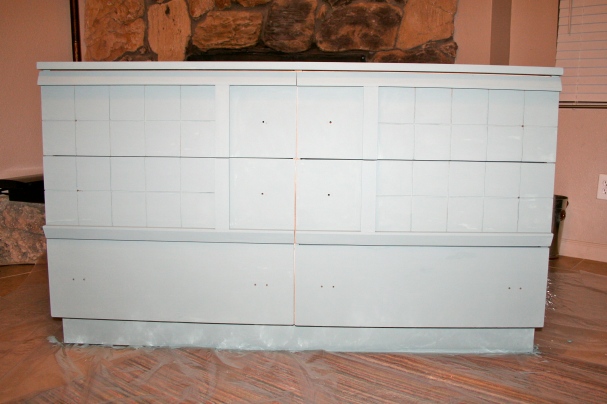
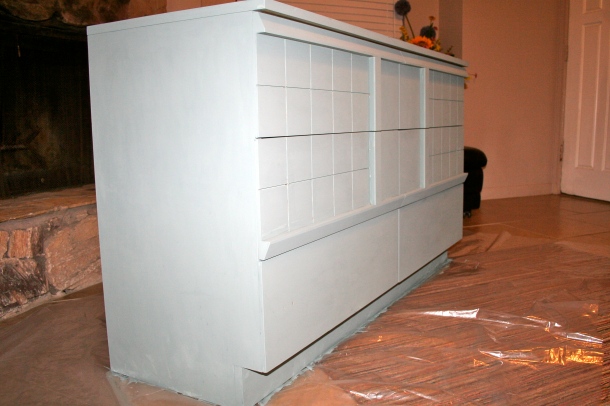
Here it is with a good base coat and then a very thin top coat. The COOLEST thing about Annie Sloan’s paint is that there is NO stripping, priming, or any initial work. You just grad a brush and get going with the fun part. It covers practically anything and a little goes a longgggg way!
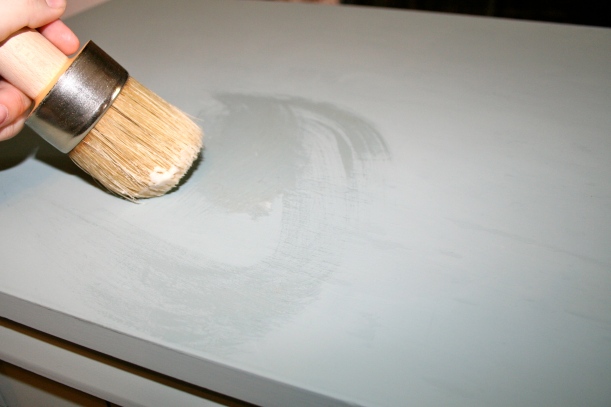
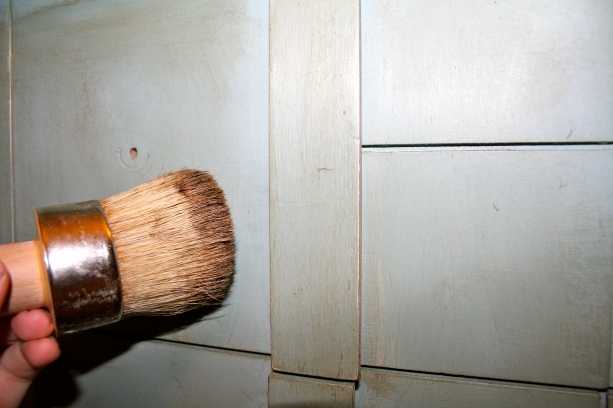
After the paint dries, you cover the piece in a thin layer of the clear wax. The wax protects the paint from what we are about to do to it.
Use a mixture of round, straight, wavy, back, and forth brush strokes to give texture.
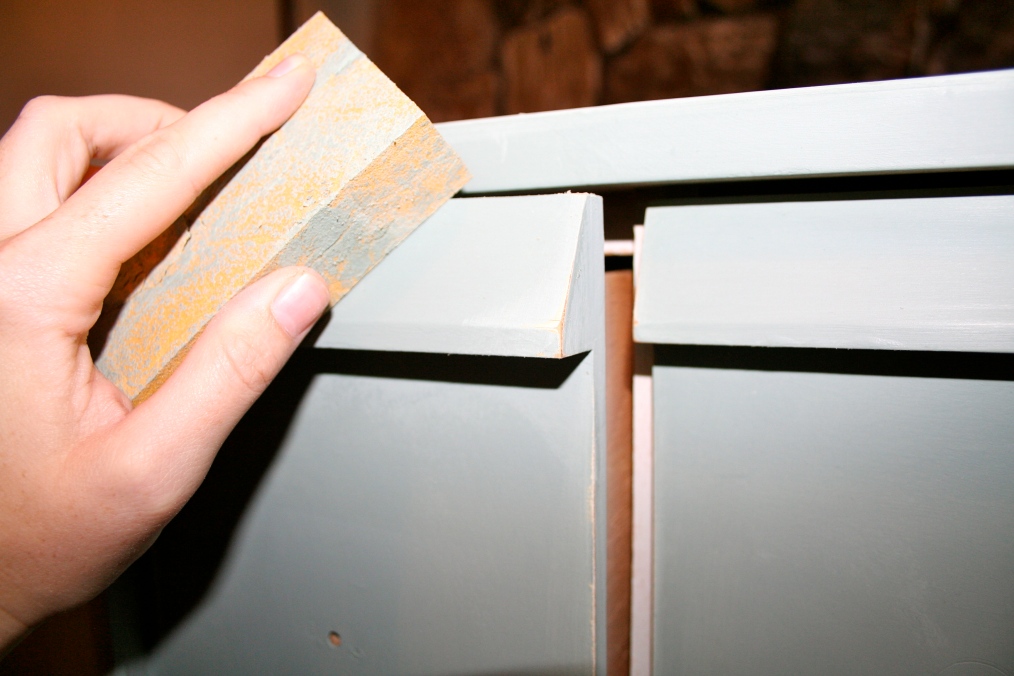
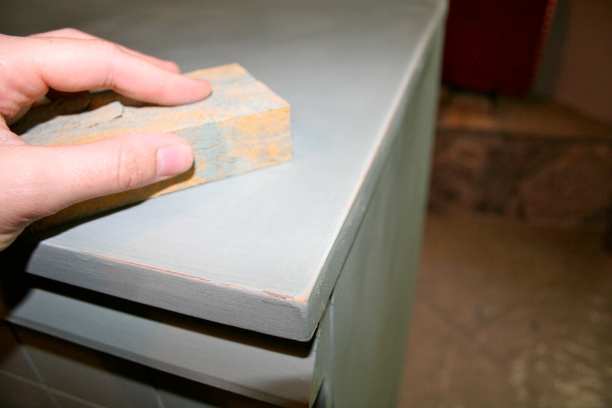
After the wax dries, you get to beat it all up! Use sandpaper blocks or just a sheet of sandpaper to imitate wear and tear where a piece of furniture would normally see it. I like to hit the edges and corners first. Then I like to add in a few larger places. Now you are getting the chance to show the original finish of the piece through the fresh paint.
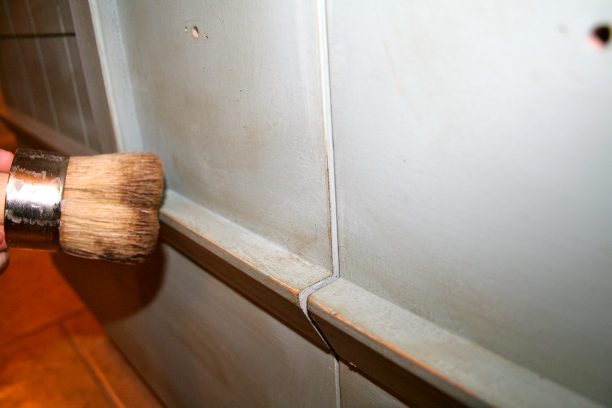
Now for the dark wax. Gently take a brush with a small amount of dark wax to the piece. Start small, then add until you like what you see. If you add too much, just use clear wax on a soft cloth as an eraser.
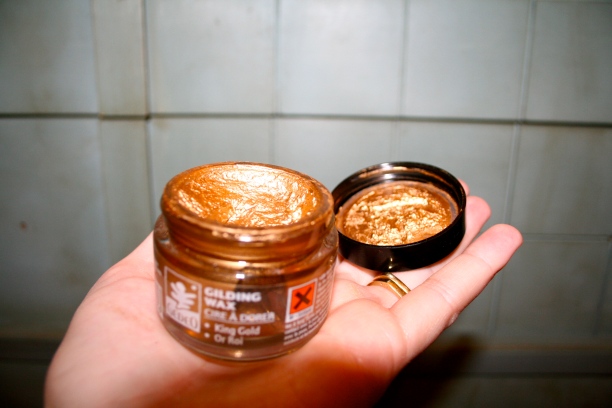
Next is my favorite part. This is gilding wax. It is magical.
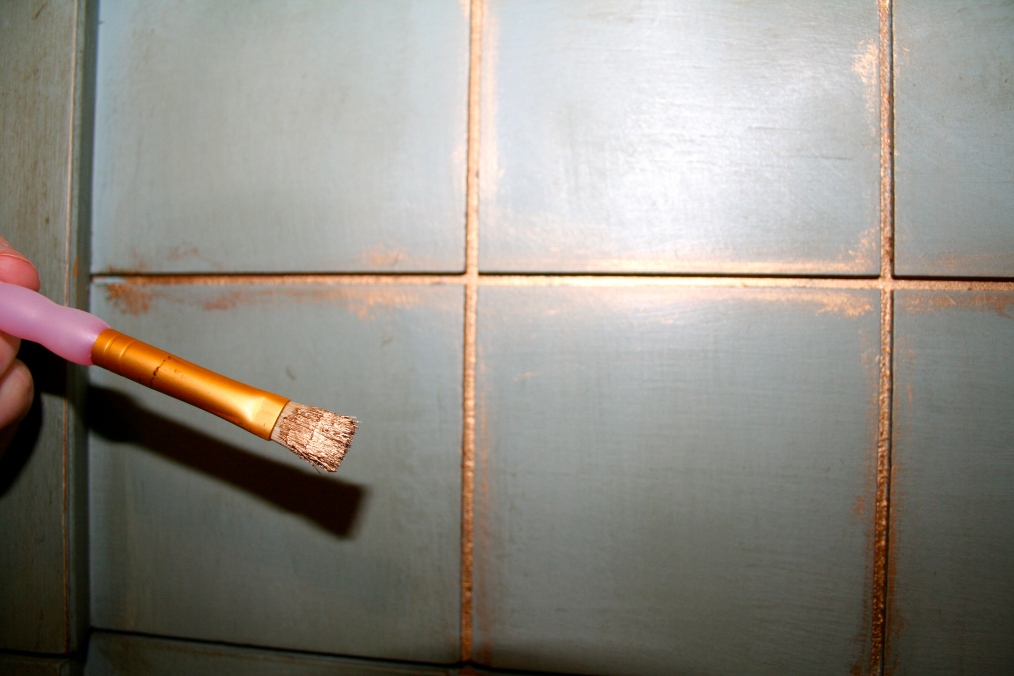
Take a small paint brush and use the gilding wax to highlight the sanded corners and edges. If your piece has some cool detail like mine, you may choose to add gilding wax to highlight it. You can very easily get carried away- it’s just so pretty! Like the dark wax, you can erase it with clear wax.
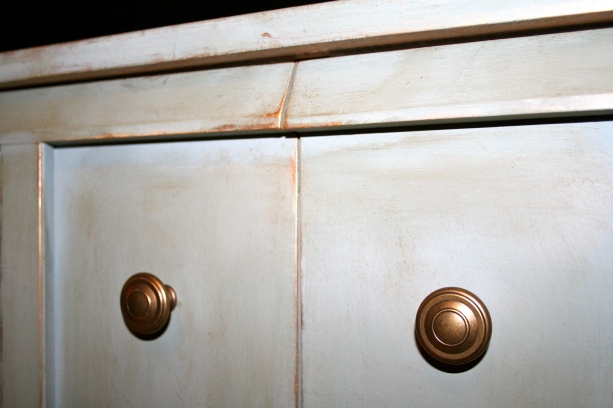
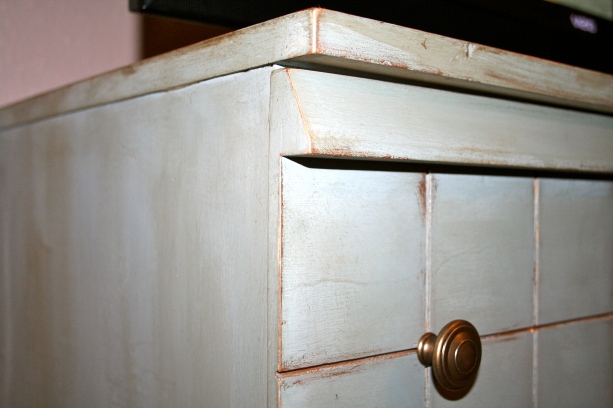
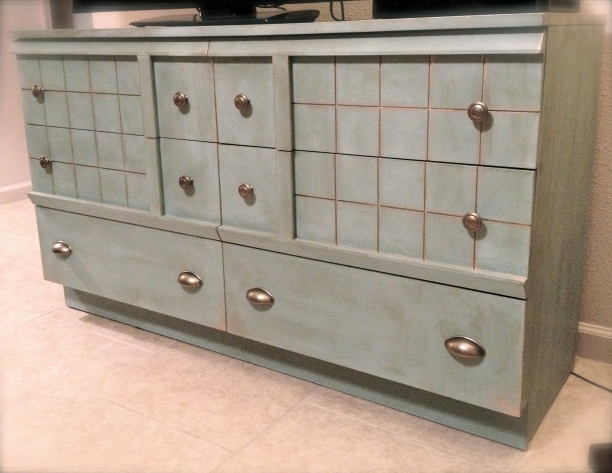
Here are some finish product pictures… The pictures don’t do it justice, but you get the idea.
Voila!
I hope you catch the Annie Sloan fever like I have. I hope it brings joy to your home in a far-cheaper-than-buying-new kind of way! It’s SO neat. I want to Annie Sloan EVERYTHING. Shannon tells me not to go crazy. He keeps me grounded.
Now go and start a project! If you have a sweet and willing hubby like I had, enlist his help! Projects are fun to do together.
See y’all next time!
Find Annie Sloan near you.. today!:
OMG and WOW!!!!!! That turned out Fabulous!!!!! Ya’ll did a great job and can’t wait to see it up close.
This looks so elegant and beautiful! Great job thinking up the color combos! I love it!
I also just finished a project with AS Chalk Paint for the first time, check it out if you want- http://azcubed.wordpress.com/2012/08/28/refinished-farmhouse-hutch-with-tutorial/